
|
 |  |  |  |  |  |
 |
| |||||||

|
Welcome to Mazdaspeed Forums . You are currently viewing our boards as a guest which gives you limited access to view most discussions and access our other features. By joining our free community you will have access to post topics, communicate privately with other members (PM), respond to polls, upload content and access many other special features. Registration is fast, simple and absolutely free so please, join our community today! If you have any problems with the registration process or your account login, please contact contact us. *When you join MSF as a registered user, there will be No Ads. *Registered Members get access to the Off Topic Area of the Forum *Registered Members have an opportunity to upgrade their accounts to VIP, which brings a host of goddies for supporting MSF such as Raffles, Additional Forum Access, More PM Storage, The ability to upload more Images and many other enhancements. *Registered members also get access to the live chat box! |
| | | LinkBack | Thread Tools | Search this Thread | Display Modes |
 |  12-15-2013, 04:46 AM
| #1 |  |
| Approved MSF Vendor  Join Date: Dec 2008 Location: Draper, UTAH
Posts: 1,452
(View Stats)
iTrader: (6)
Rep Power: 637   Thanks: 435
Thanked 965 Times in 382 Posts
Groans: 0
Groaned at 3 Times in 3 Posts
(Thread Starter) |   Neutral : +2 score Neutral : +2 score  Eibach Pro-Kit Lowering Springs For more information on these camber arms, click here, or any of the images below! This weekend I got a chance to install the Eibach Pro-Kit Lowering Springs. In preparing Yurtle for winter here in SL, UT I wanted to pull the summer wheels, tires and coilovers off of the car to keep them from getting to beat up by all the salt that goes on the roads. I already swapped the summer wheels and tires for a set of 16" steelies and Firestone Winterforce tires. The next step was to pull the Pedders coilovers off and reinstall the factory struts paired with Eibach Pro-Kit springs. The Eibach Pro-Kit is designed to deliver aggressive good looks and high performance handling, without ever compromising safety or ride quality. By using their proprietary, progressive spring design, they are able to keep your car comfortable enough that your wife won't complain while reducing body roll, increase cornering ability and stop quicker. WARNING: If you are unfamiliar with the ins and outs of the MS3's suspension system, please have a professional install these for you. Part #: 5554.140 Return Policy: RallySport Guarantee Mfgr. Warranty: Million Mile Adjustable: No Drop Height Front: 1.0in Drop Height Rear: .6in Drop Height Front Metric: 25mm Drop Height Rear Metric: 15mm Includes Bump Stops: No Lets take a look at what Eibach includes. 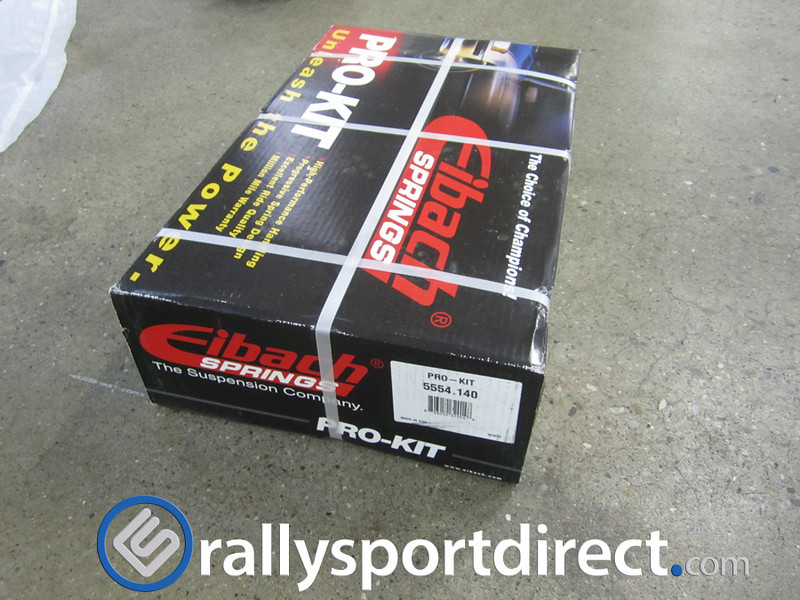 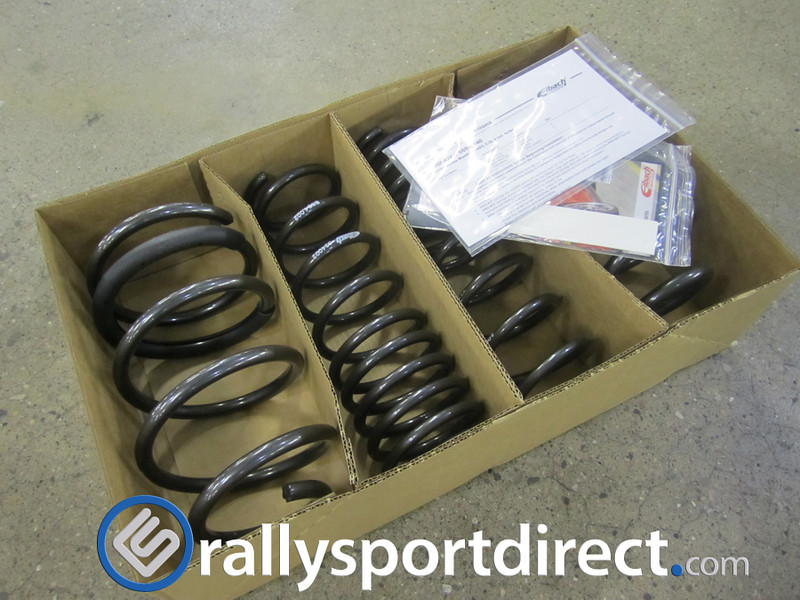 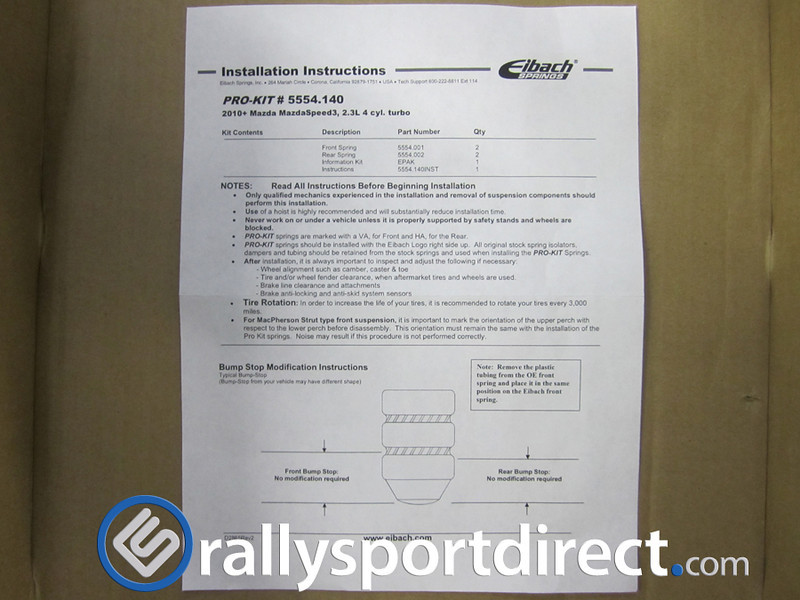 1) First things first, get your car up on jackstands or better yet a lift if you have access to one. 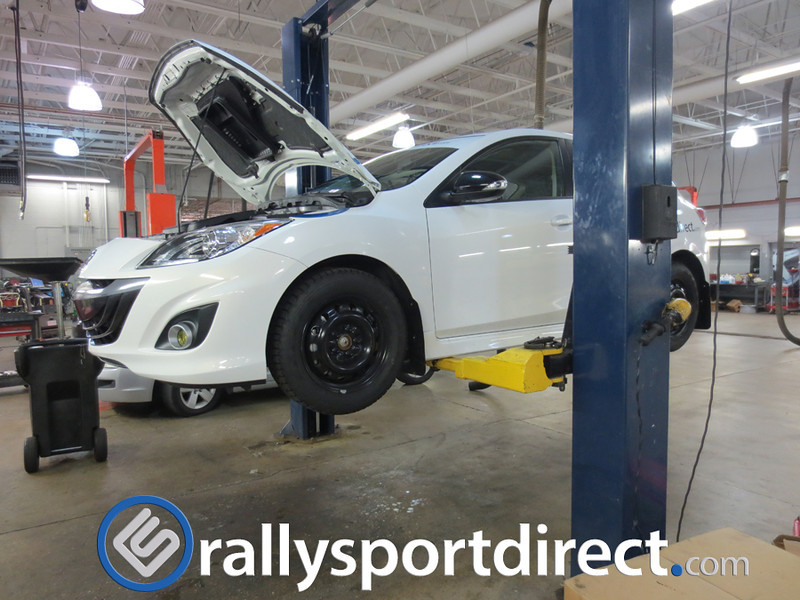 2) The wheels need to be removed to gain access to remove the suspension. 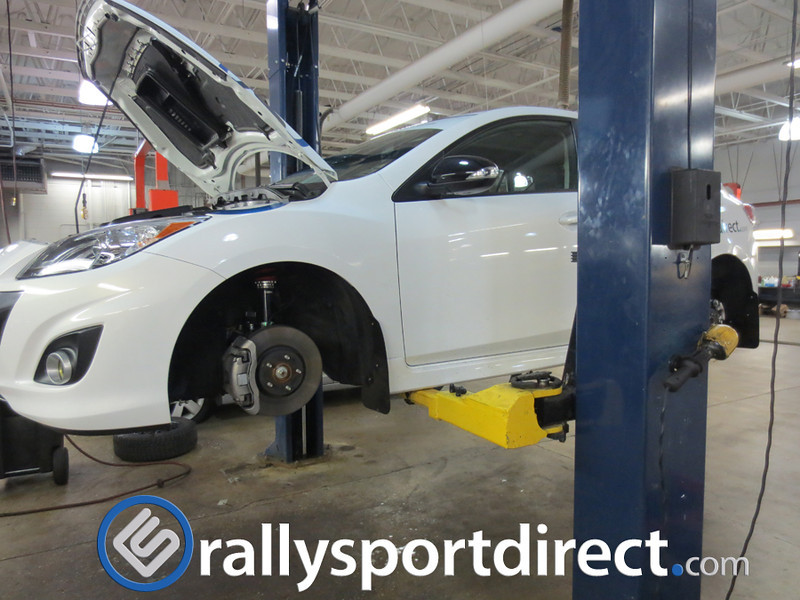 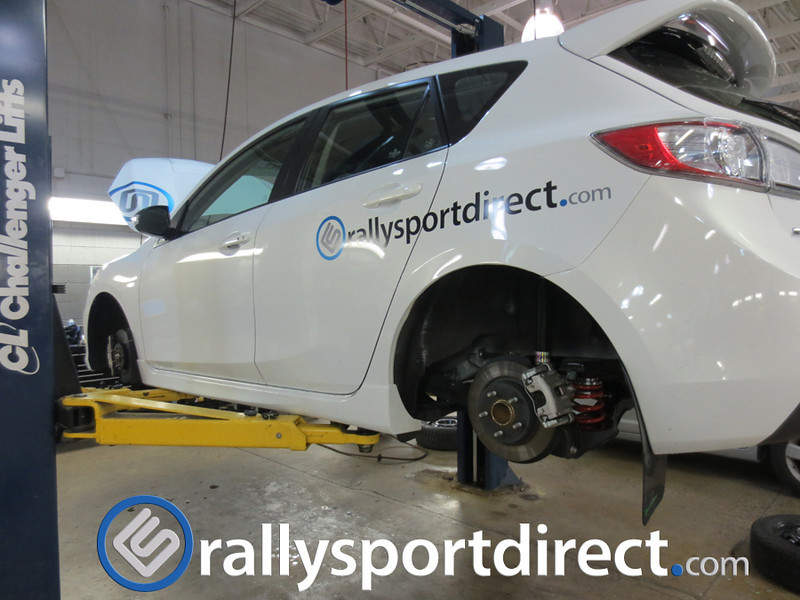 3) In order to remove the front suspension there are just a few steps that need to be completed - Remove the clip holding the brake line to the strut:  Disconnect the endlink and bracket securing the ABS line to the strut: 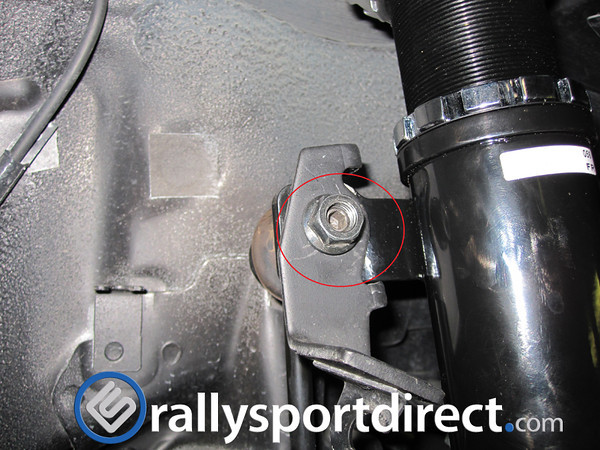 Remove lower part of strut from the hub: 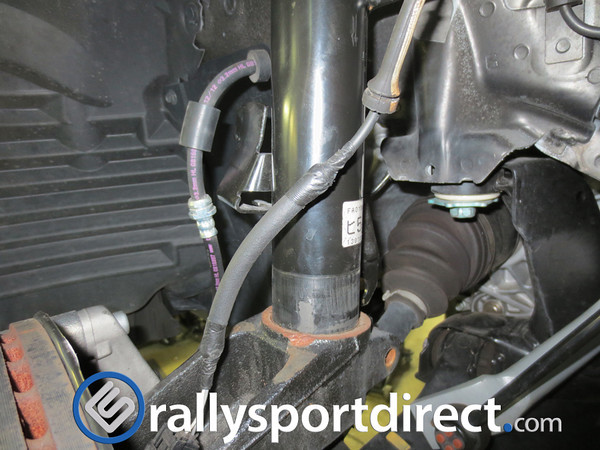 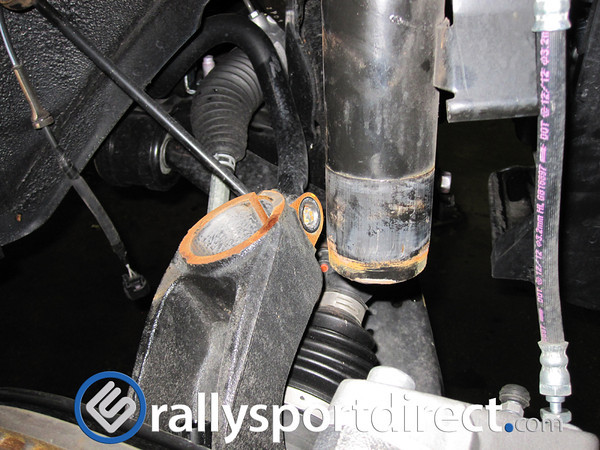 Remove the 3 bolts securing the strut to the chassis: 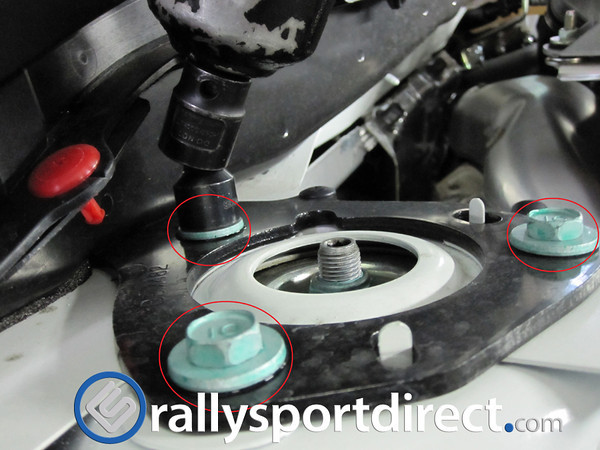 Remove both left and right side front strut assemblies: 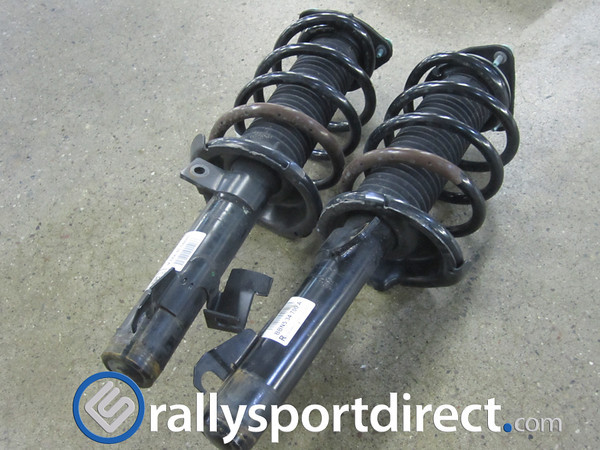 4) With both front strut assemblies removed from your car we just need to mark the orientation of the upper perch in respect to the lower perch before disassembly. This orientation must remain the same with the installation of the Pro-Kit springs or unwanted noise may result while driving. The MS3 design is such that I don't think you could reinstall everything with the incorrect orientation but better safe than sorry. We grabbed a white paint marker to make the necessary reference marks. 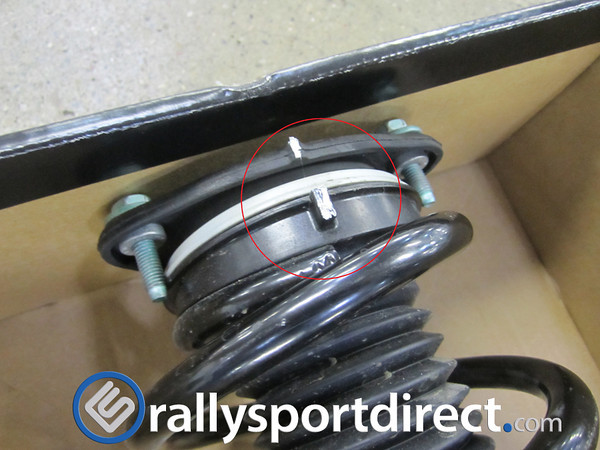 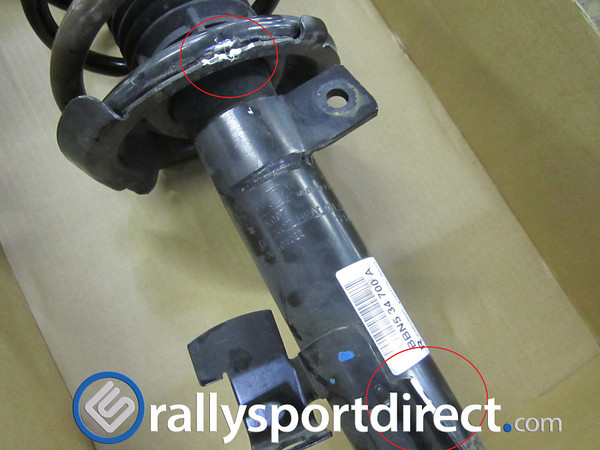 5) Toss the factory strut/spring assembly in the spring compressor you have. This one may look different than what most end up picking up from their local parts store. The main purpose here is to compress the spring so that when you remove the top hat nut the spring doesn't come shooting off and hurt someone. With this particular spring compressor we had the ability to place the upper arms on the top of the upper mount and apply pressure there which kept it from spinning when removing the 17mm nut holding everything together. 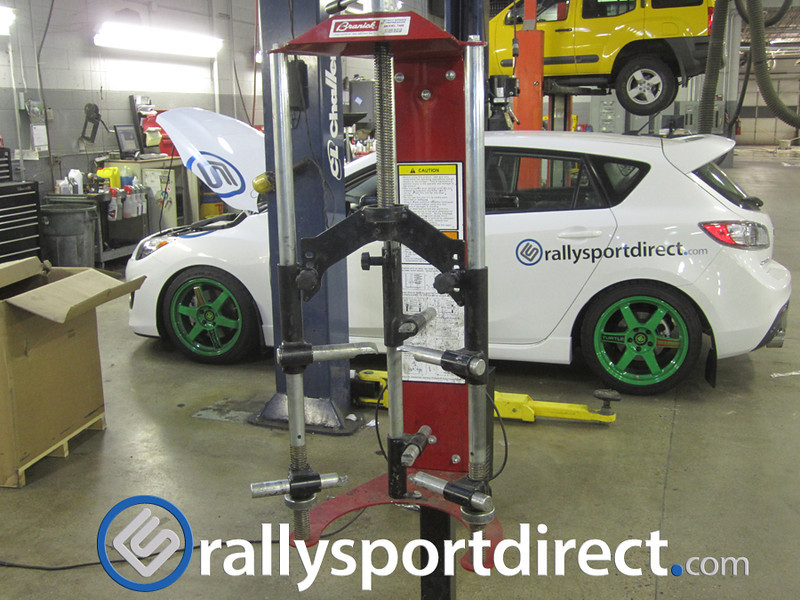  6) With the top hats, springs and dust boots removed go ahead and clean up the strut and spring perch to get them ready for the new springs. 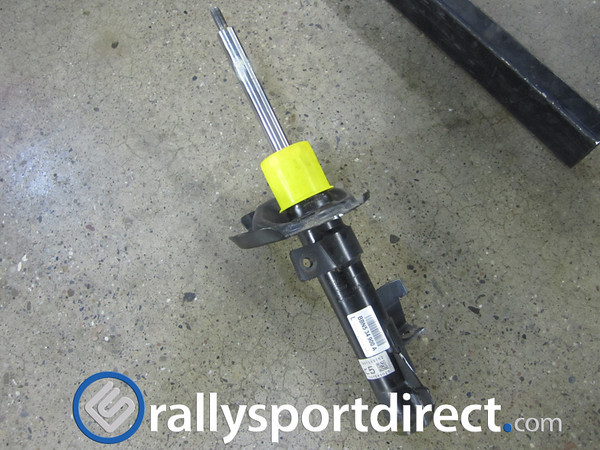 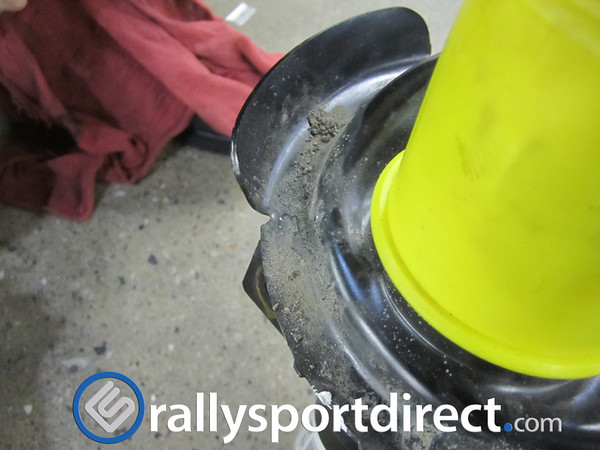 For reference I snapped a picture of the factory 2013 MS3 front spring next to the Eibach Pro-Kit spring. 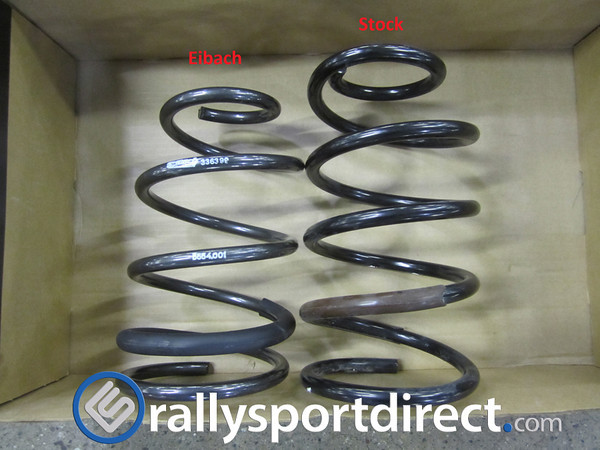 7)Reinstall the factory dust boot and bump stop assembly and slide the new spring over your strut. Set the top hat on and ensure that the marks you made earlier line up properly. Once you've gotten to this point install your new springs in reverse order that you removed your stockers and you are ready to install the assemblies back on your car. The piston rod nut factory torque specification is 43-56 ft/lbs. Also note that according to the instructions Eibach included there is no modification needed to the factory bump stops. 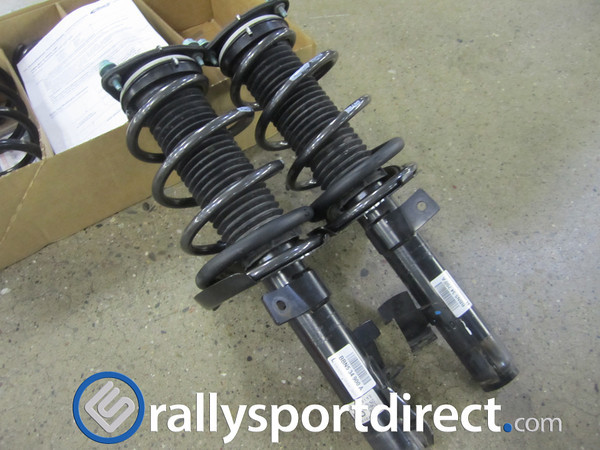 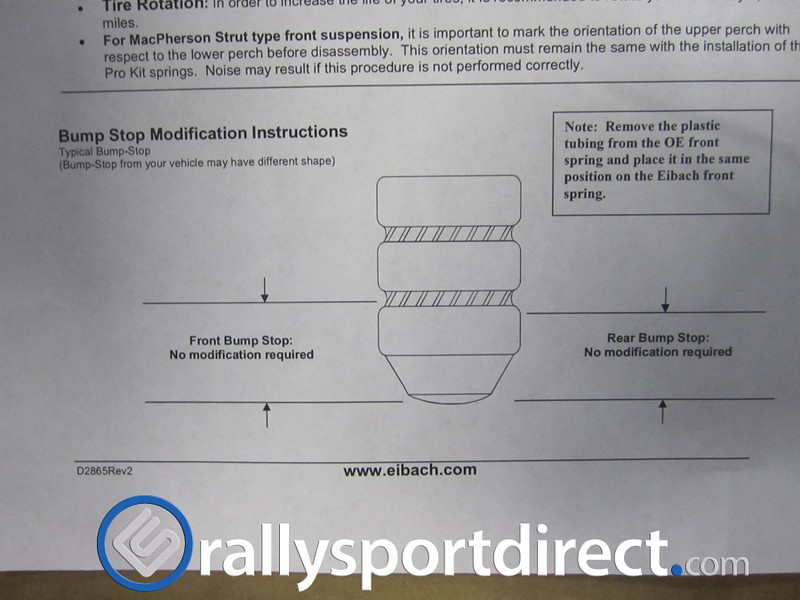 Stock struts with Eibach Pro-Kit springs next to Pedders Coilovers. 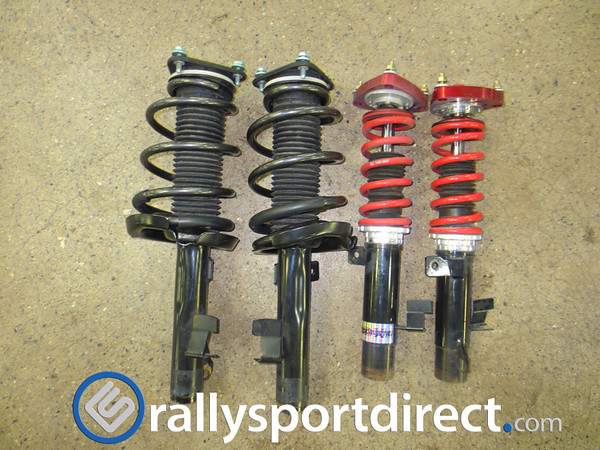 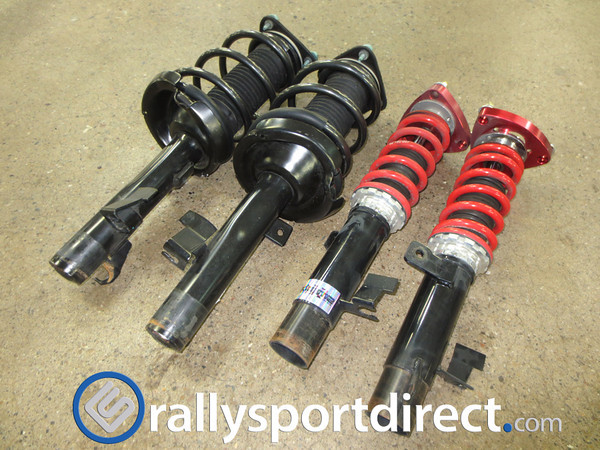 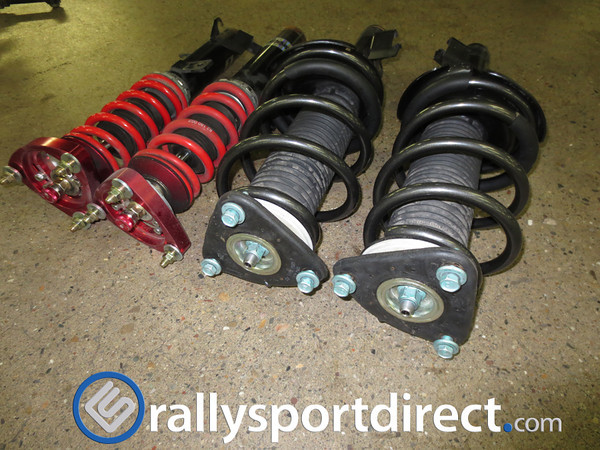 8)Reinstall your new setup in the reverse order you used to uninstall them and ensure you properly torque all hardware back to factory specifications. 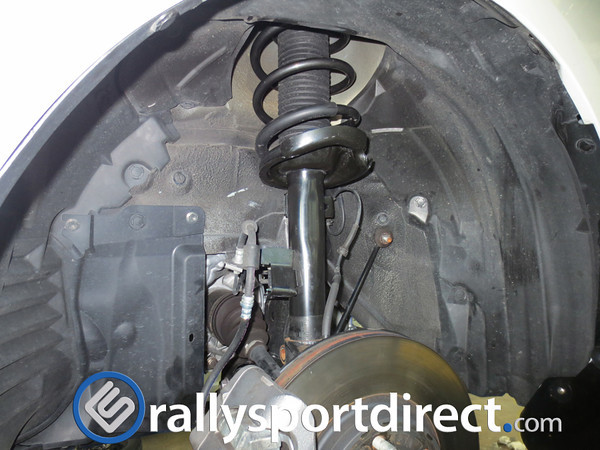 Torque Specifications: Upper mount to chassis mounting bolts: 23-28 ft/lbs 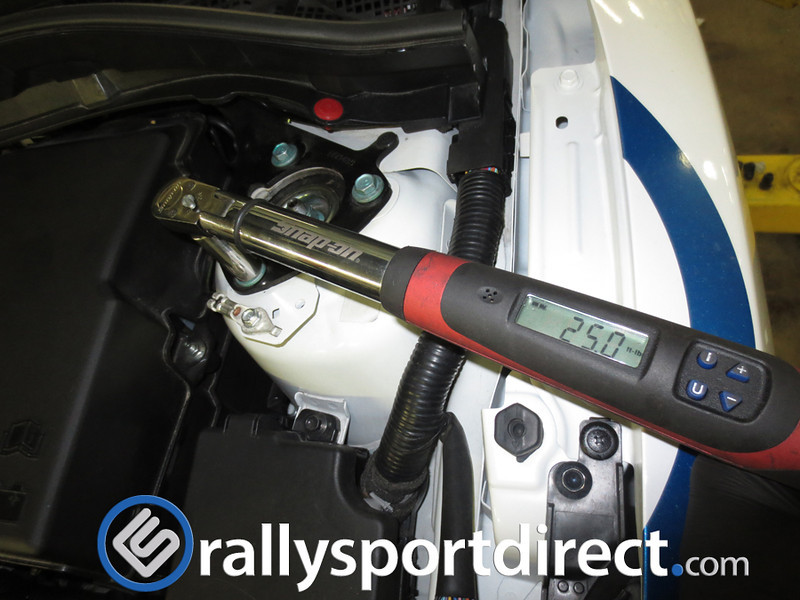 Endlink to strut nut: 32-44 ft/lbs 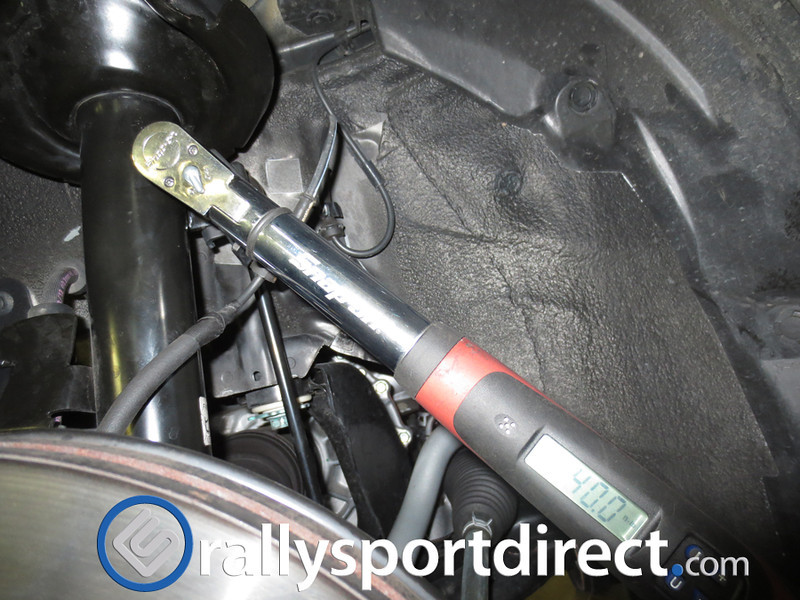 Knuckle to strut bolt: 48-54 ft/lbs 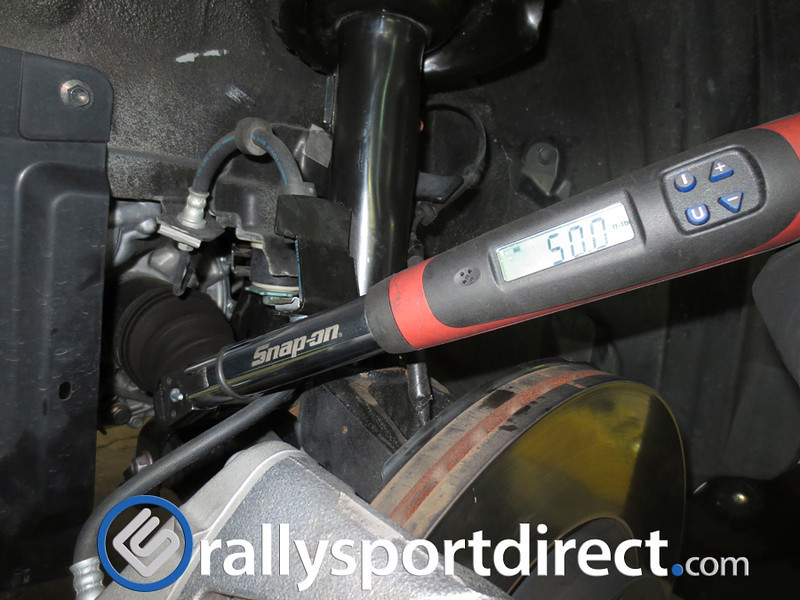 Rear: 1) Moving onto the rear suspension you need to remove the factory spring and strut which is I believe easier than the front. Get the rear springs ready for installation by removing the upper spring seat off of the stock springs and installing them on your Eibachs. 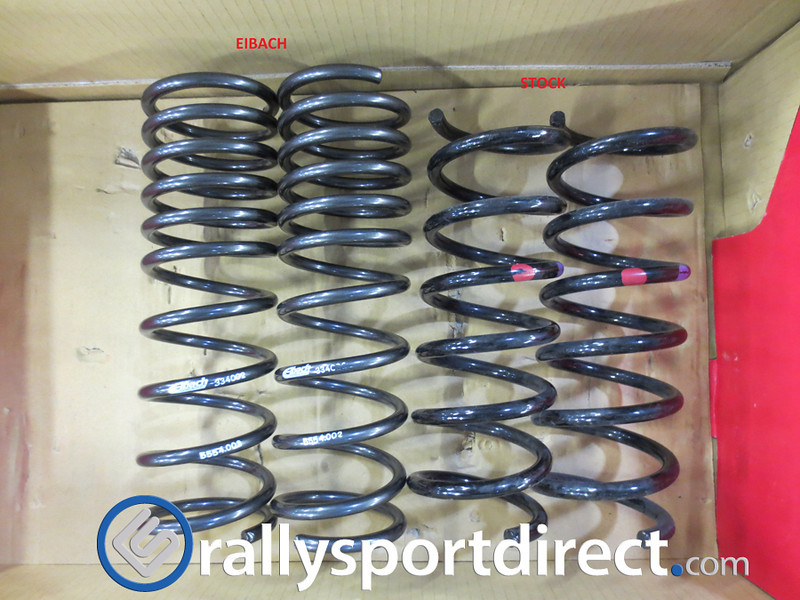 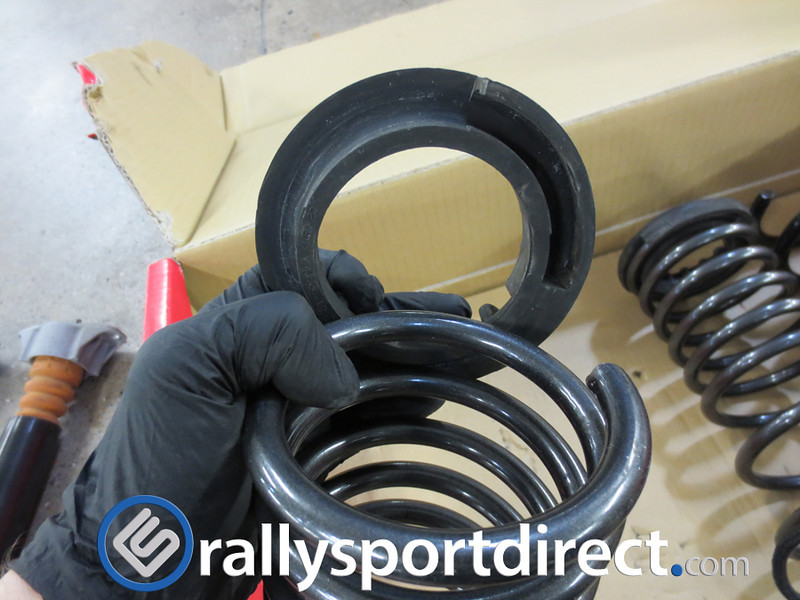 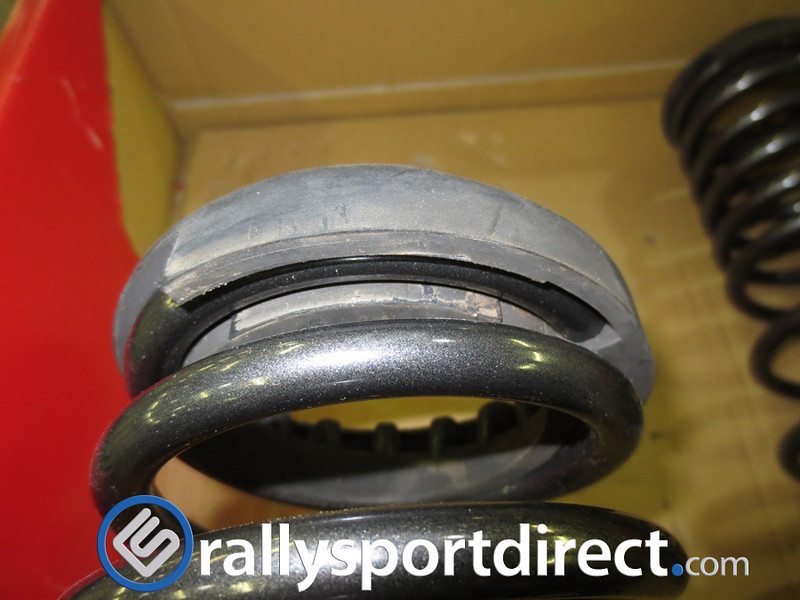 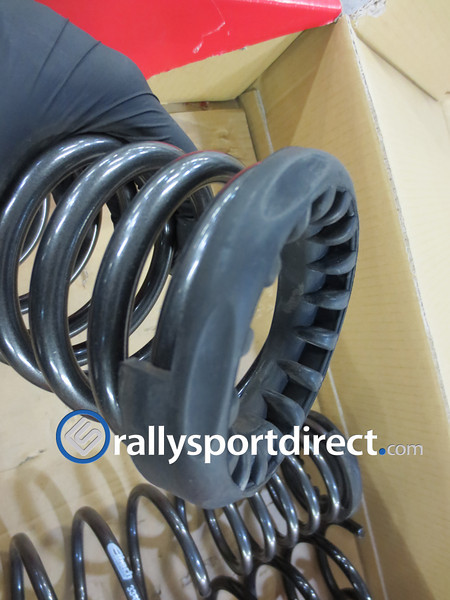 2) In order to remove the springs on the car you'll need to drop your rear swaybar by removing the nuts securing the endlinks to the lower control arm. Once the nuts are removed you can simply rotate the bar down and out of the way. 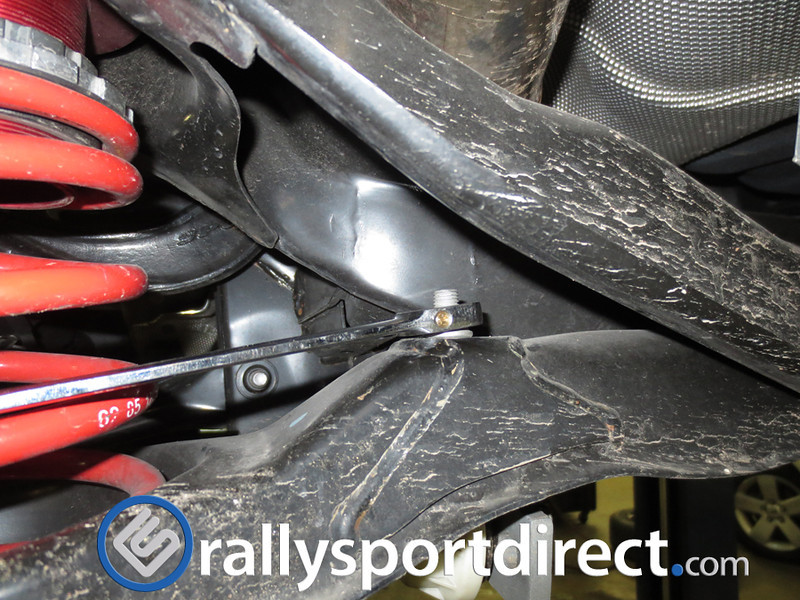 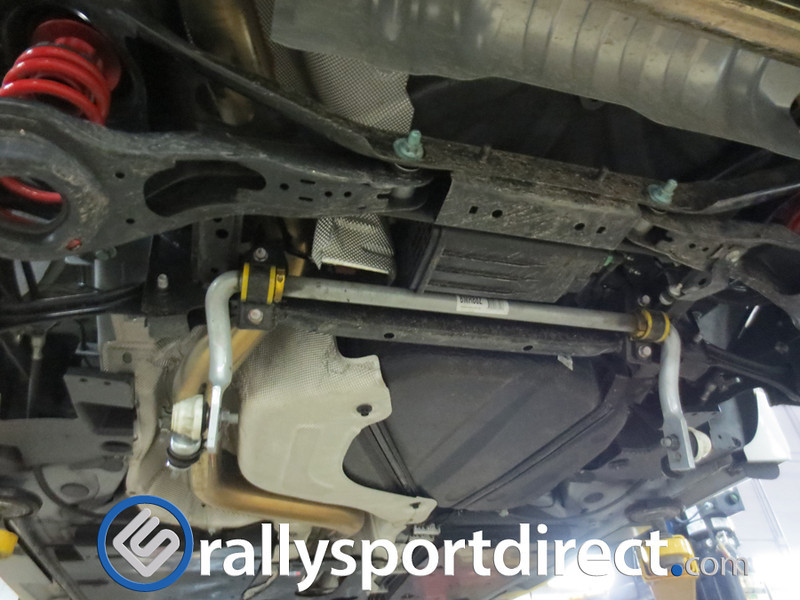 It is hard to see in this next picture but you will want to support the lower control arm with a jackstand, screw jack or floor jack before removing the lower bolt connecting it to the hub. This will prevent the spring from popping out wildly as well as keeping the lower control arm from losing control and damaging your car or your hand.  With the spring you had on the car removed reinstall the Eibach spring you've prepared and use your screw jack or floor jack to push the lower control arm back into place where you are able to reinstall the bolt attaching it to the hub. Ensure you torque the bolt down to factory specifications - 57-75 ft/lbs After the left and right side springs are installed you can now reinstall your swaybar by reinstalling the nuts and torquing them down properly - 33-44 ft/lbs 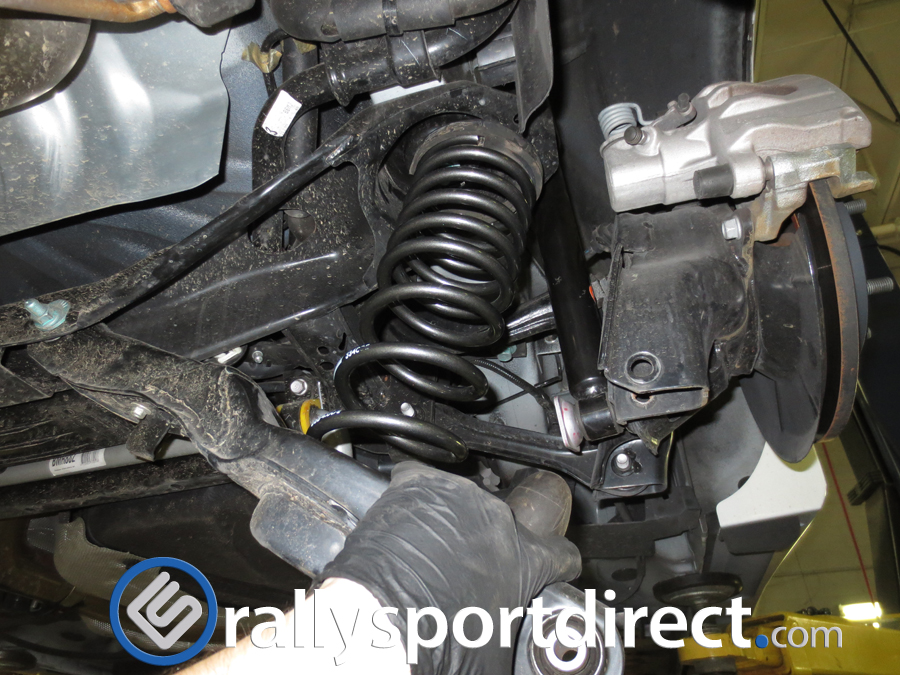 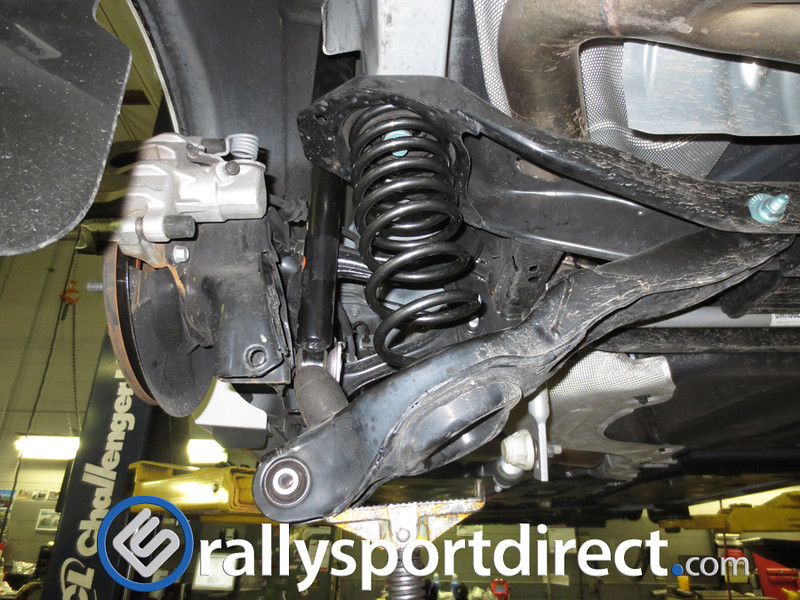 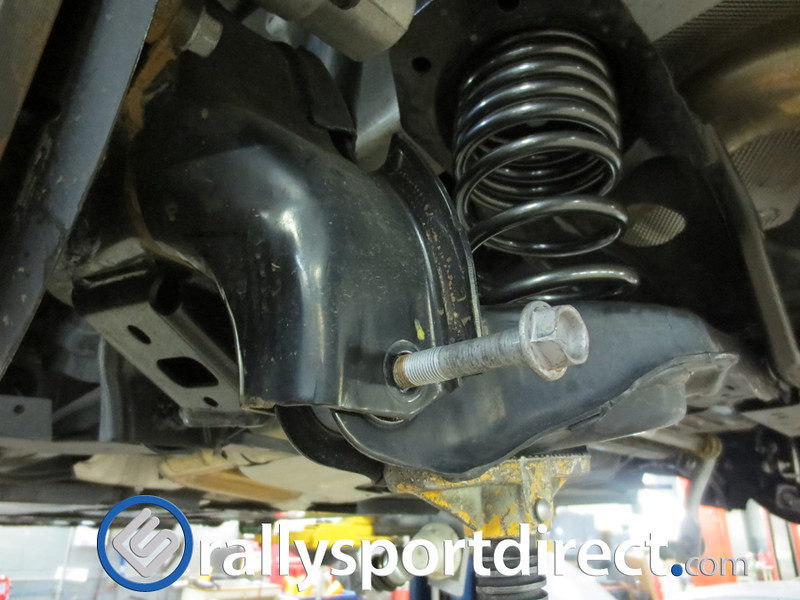 3) Normally you would be done with the installation at the last step and ready for an alignment but if you are removing coilovers like myself then you will still need to remove the rear coilovers and reinstall your factory struts. To remove the rear struts you'll need to remove the lower bolt and the 2 upper nuts and you can simply pull it out of place. 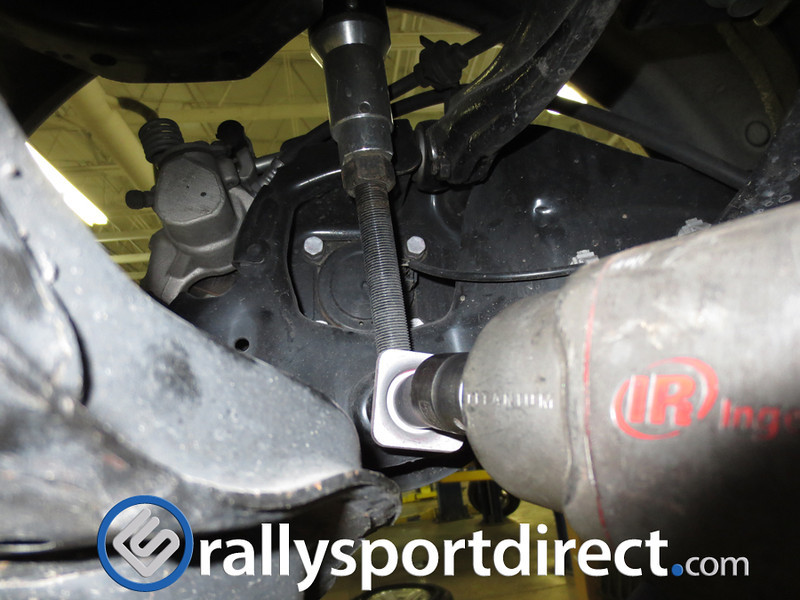 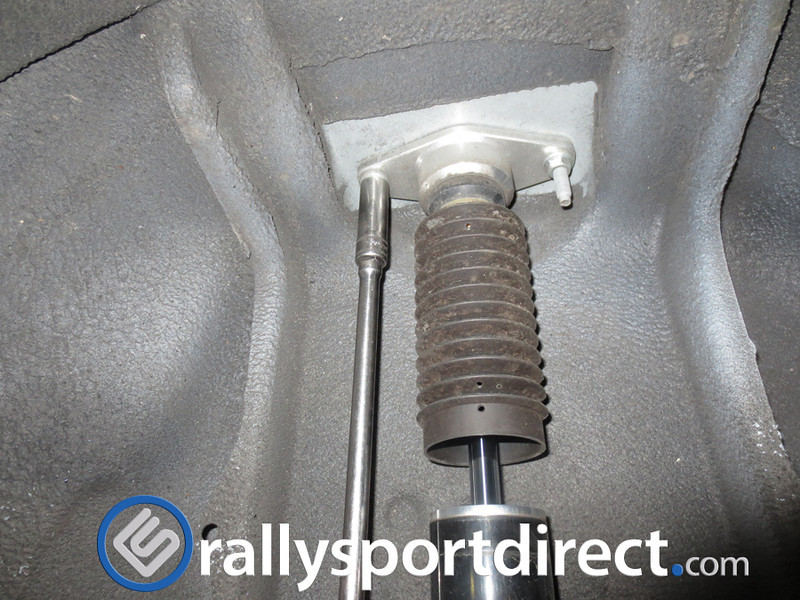 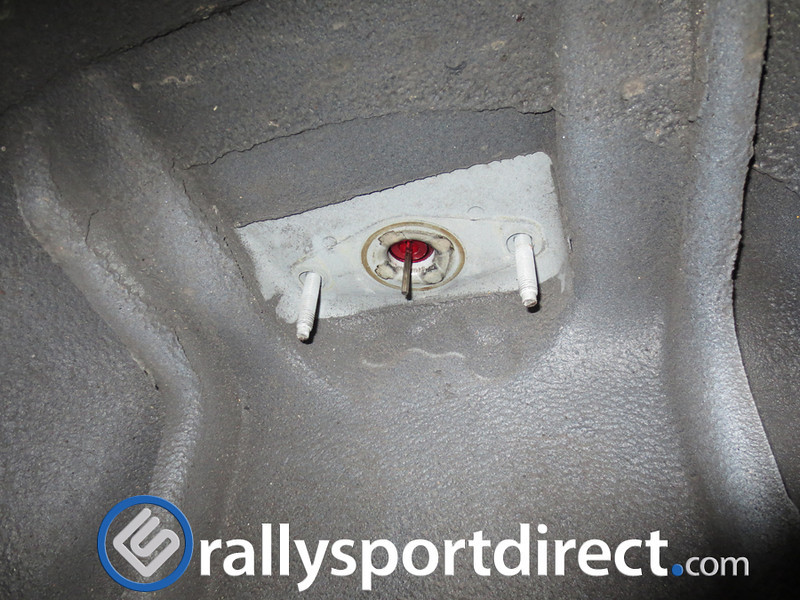 4) Grab your factory strut and install it by reinstalling the 2 upper 12mm nuts and 1 lower 17mm bolt. 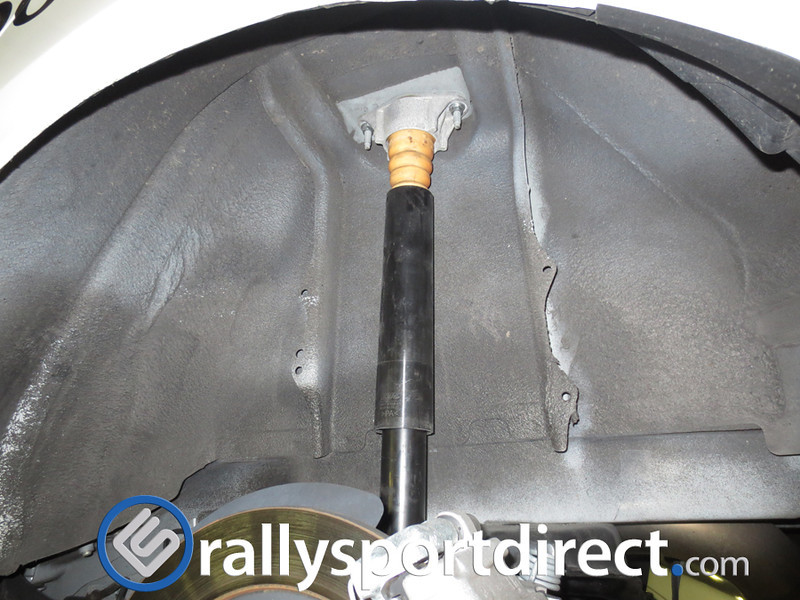 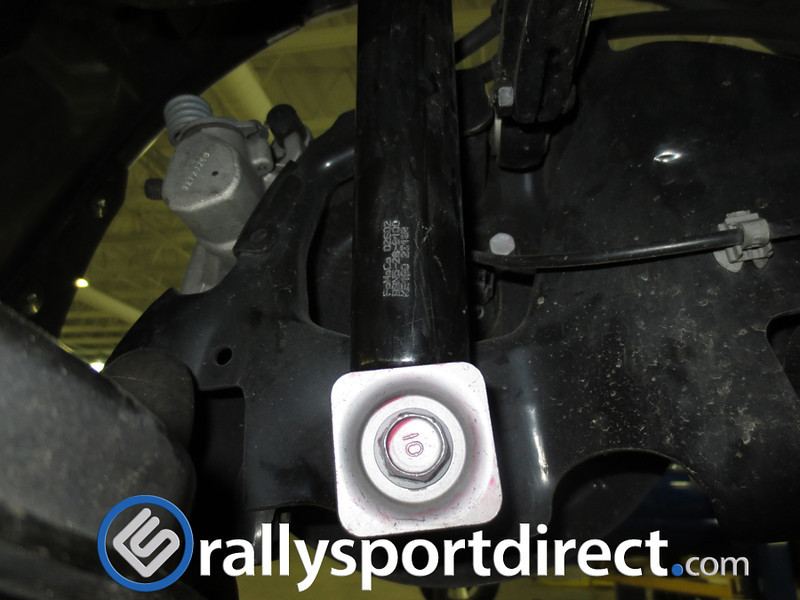 Don't forget to torque the upper nuts down to the proper specification - 17-20 ft/lbs 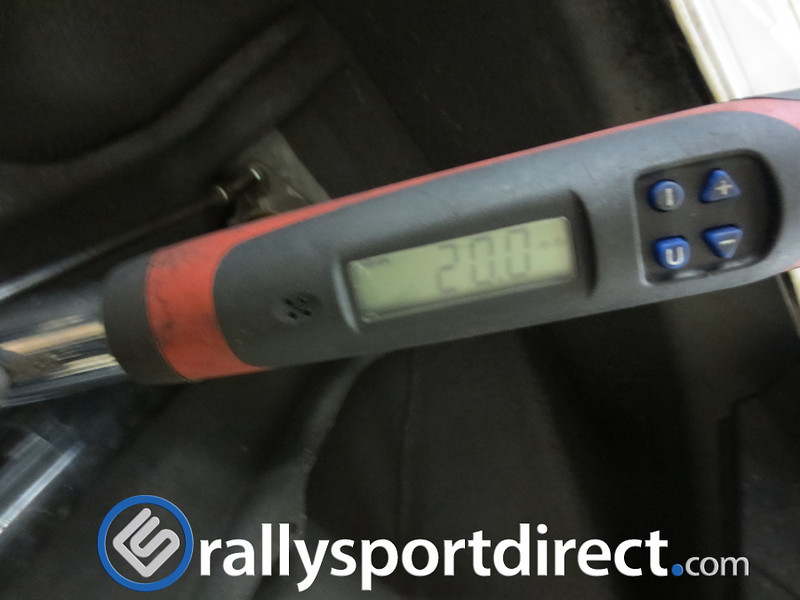 And also torque the lower bolt down properly - 59-77 ft/lbs  5) You are now finished with the rear Eibach spring installation. 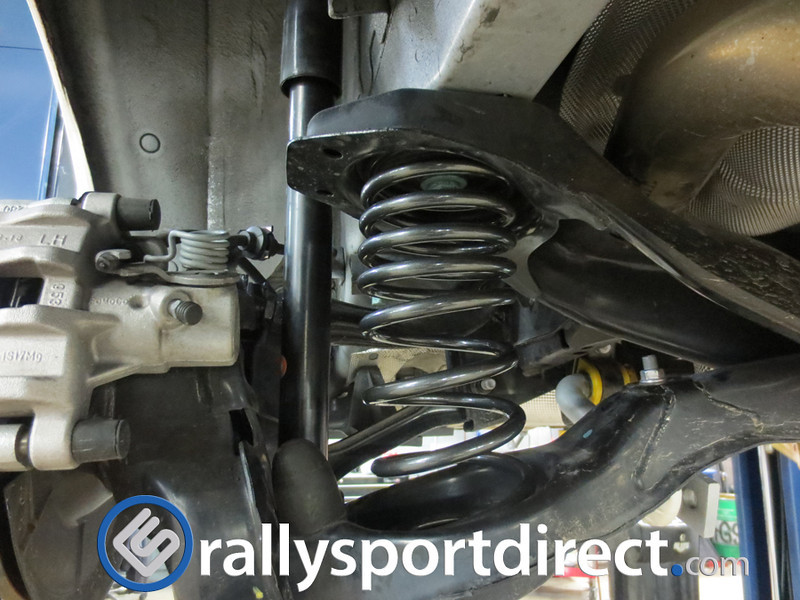 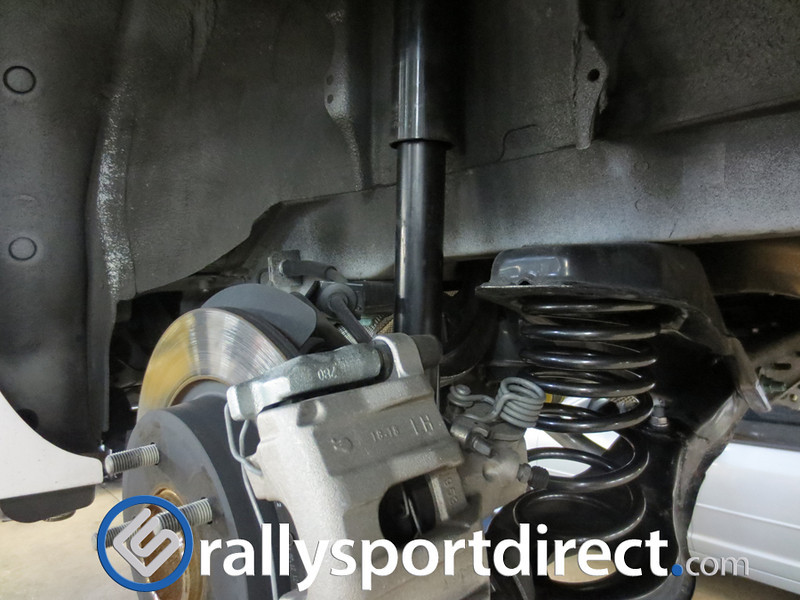 Thanks, Tanner For more information click here:
__________________  |

|  |
| The Following 23 Users Say Thank You to RallySportDirect For This Useful Post: | 3wheeln (04-02-2015), Amnesiac (07-27-2014), aromig (05-17-2015), Castillo817 (07-23-2015), CWP_MS3 (12-18-2013), dp3 (11-24-2017), emag remrofni (12-27-2013), Gixxer2k4 (07-28-2014), mbc4934 (12-29-2013), motoman (06-15-2014), Murcielago311 (02-11-2014), MZRSPEED (01-09-2014), necrophrenic (05-20-2018), OSN (12-09-2014), redvine (07-09-2014), Reggaeboy143 (08-27-2014), roguemazda (01-04-2017), tec_41 (01-25-2016), thehead (12-15-2013), TheProduct86 (04-21-2015), Tifosi42 (10-08-2015), TMOtester (09-12-2014), YABBAMZR (12-19-2013) |
 LinkBacks (?)
LinkBack to this Thread: http://www.mazdaspeedforum.org/forum/forum/f429/how-install-eibach-pro-kit-lowering-springs-160997/ | ||||
| Posted By | For | Type | Date | |
| Sprezyny Eibach Pro-Kit - prawidlowy monta? w Civic VII | This thread | Refback | 09-08-2015 10:50 AM | |
| Koni/Bilstein Shocks and Springs Group Buy! - Page 3 | This thread | Pingback | 08-19-2014 07:05 AM | |
| Currently Active Users Viewing This Thread: 1 (0 members and 1 guests) | |
| |
|
Similar Threads | ||||
| Thread | Thread Starter | Forum | Replies | Last Post |
| H & R Lowering Springs vs. Eibach Pro Kit | manofhonor24 | MazdaSpeed 3/6 - Suspension & Brakes | 18 | 12-15-2009 02:32 PM |
| Eibach pro kit lowering springs, what else should I get? | marcusdigi | MazdaSpeed 3/6 - Suspension & Brakes | 1 | 05-20-2009 06:40 AM |


 17Likes


 Threaded Mode

